Why You Should Pre-Wash Fabric Before Sewing
Let’s make sure your sewing project turns out just the way you want it to!
One of the most common questions in sewing is whether you should pre-wash fabric before sewing. While it can feel like an extra step, pre-washing fabric can save time, prevent disappointment, and help your finished project look and feel better.
In most cases, pre-washing the fabric is a good idea — especially for garments. Here’s why.
It all starts with the fabric preparation. I know you just want to get cutting but if you follow these important but simple tips it will help to make sure that your sewing project looks and fits as intended.
Here are some helpful tips to prepare your fabric:
What Does Pre-Washing the Fabric Mean?
To pre-wash fabric before sewing you simply wash and dry your fabric before you cut out your pattern pieces, using the same method you plan to use for the finished item.
This removes excess dye, manufacturing finishes, and any shrinkage that would otherwise happen later.
Start by pre-washing the fabric to prevent it from shrinking after your project is complete. (You really don’t want that!)
Just wash and dry it according to the washing instructions for that type of fabric – and for the way you intend it to be washed after making. If you buy the fabric online the washing instructions should be on the website. If you buy instore there should be a label.
Always make a note (or photo) of the washing instructions.

Essential Reasons to Pre-Wash Fabric
Prevents Shrinkage After Sewing
Many fabrics shrink the first time they’re washed, particularly cotton, linen, and some knits. Pre-washing allows that shrinkage to happen before you sew, so your finished garment keeps its intended size and shape.
Stops Colour Bleeding
Bright or dark fabrics can release excess dye in the wash. Pre-washing removes this dye before it has the chance to stain other fabrics, linings, or trims in your project.
Removes Chemical Finishes
Fabric often contains starches, sizing, and chemical treatments from the manufacturing process. Washing removes these residues, making the fabric softer and more pleasant to work with.
Improves Comfort Against the Skin
Pre-washed fabric is usually softer and more flexible. This is particularly important for clothing worn close to the skin, and especially for children or anyone sensitive to scratchy or stiff fabrics.
Shows How the Fabric Will Behave
Washing fabric before sewing reveals potential issues early, such as twisting, excessive wrinkling, or texture changes. It’s much better to discover these before cutting and sewing.
Matches Future Garment Care
Pre-washing fabric the same way you’ll wash the finished garment ensures there are no surprises later. If you plan to machine wash and tumble dry the garment, do that now.
Helps Fabric Cut More Accurately
Once washed and pressed, fabric lies flatter and is easier to cut accurately. This leads to cleaner pattern pieces and better overall fit.
Reduces Long-Term Maintenance Issues
A garment that has already been washed is far less likely to change dramatically later. Pre-washing helps your handmade clothes last longer and look better over time.
Saves Time in the Long Run
Although pre-washing adds an extra step at the beginning, it can prevent the need to remake or repair garments later. In most cases, it’s time well spent.
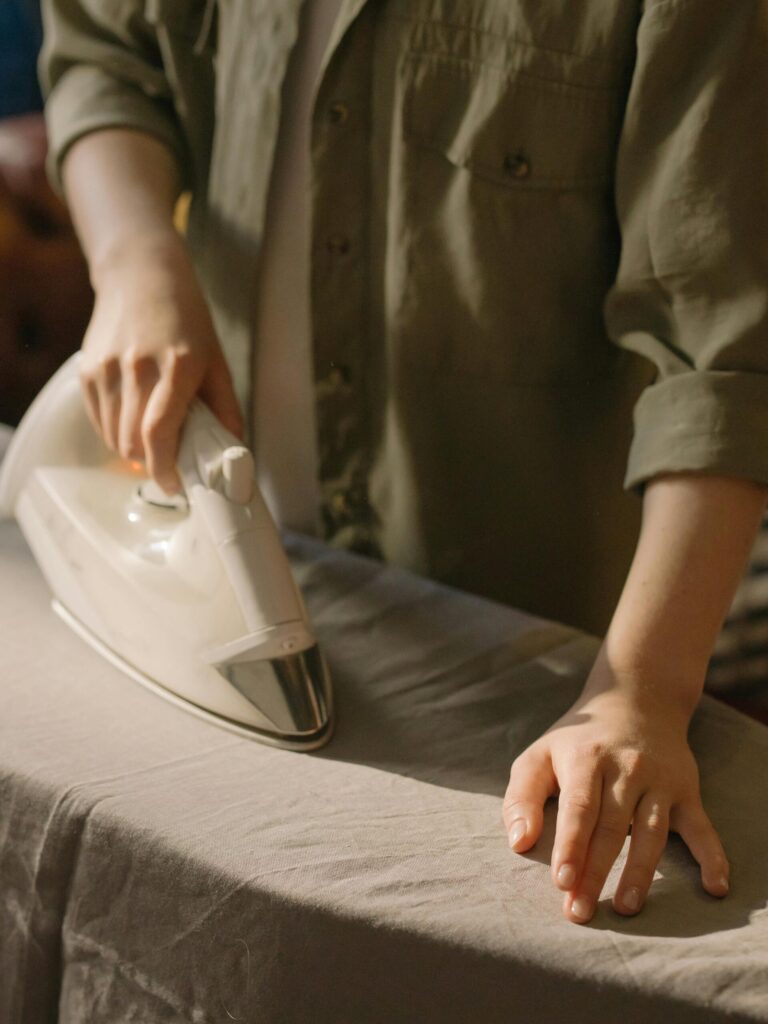
Ironing
After pre-washing the fabric it will have come off the line – or out of the tumble dryer in a crumpled heap. You will need to iron it to remove these wrinkles and creases, so that the pattern can lay flat on it. This will make sure that the pattern pieces are cut accurately. Make sure you set your iron to the appropriate temperature for the fabric. If necessary you can use a pressing cloth (just a bit of clean fabric such as a tea towel/dish towel) to protect delicate fabrics.
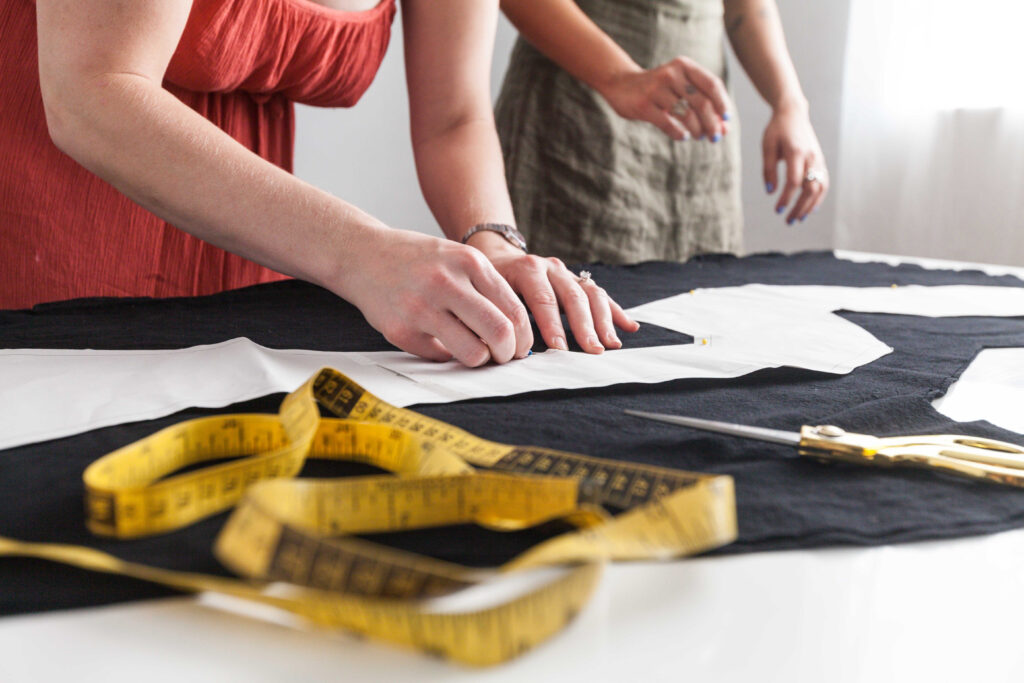
Pattern Layout
This is where you will discover the benefit of pre-washing the fabric before starting your project.
Before cutting out make sure that you have marked or pinned all the pattern pieces onto the fabric, including any duplicate or mirrored pieces needed. Make sure that the marked grainline on the pattern piece matches the lengthways grainline on the fabric. (The lengthways grain runs parallel to the selvedge’s of the fabric.) Sometimes the marked grainline will need to be placed diagonally across the fabric so that the garment is cut on the bias to create a draped effect.
If the fabric has a prominent design (stripes or spots or large motifs) make sure that you have aligned them across the body pieces. And of course make sure that any motifs with a clear top and bottom (such as an animal motif) are cut with the heads at the top and the feet at the bottom of the garment. We wouldn’t want penguins or elephants marching around on their heads!
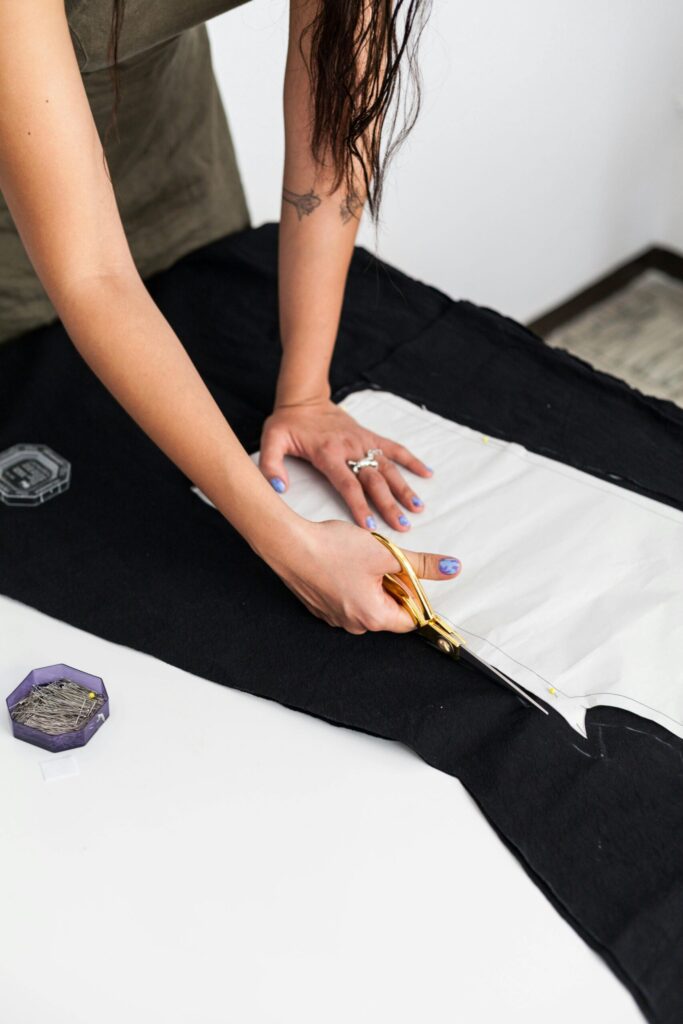
Cutting Out
The cutting line for each pattern piece has been carefully created by a professional so make sure that you follow this line accurately when cutting out. If you pre-wash fabric before sewing you will find that it is much easier to cut an accurate line around the pattern. Be sure to use sharp scissors or a rotary cutter and mat. Ideally you should have a dedicated pair of dressmaking scissors – that are NEVER used for cardboard or paper projects! You may also need to cut out various pieces of interfacing – or fusible interfacing, to stiffen or strengthen the fabric in areas such as collars and button bands.
Marking the Pattern Pieces
After cutting out your fabric, use tailor’s chalk, a fabric pen, pins or a specialized stitch called a tailor’s tack to mark any dots, notches and other positions that need to be transferred to the fabric. This will help ensure accuracy and a good fit.
You can buy your dressmaking scissors, rotary cutter and mat, dressmaking pins, fabric pen and most haberdashery at Minerva (UK) – See link Below